If you’ve been imagining a backyard upgrade that combines privacy, durability, and low maintenance, installing a PVC fence is one of the smartest choices you can make. Unlike wood or chain-link fences, PVC requires minimal upkeep while offering a clean, modern look that lasts for years.
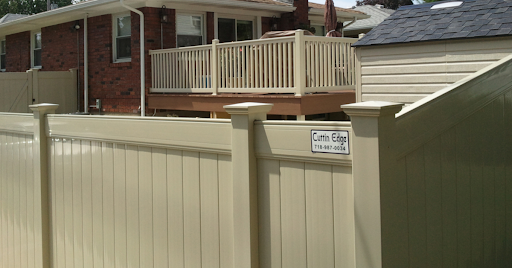
At Cuttin Edge Fence, we’ve helped many Staten Island homeowners with PVC fence installation, ensuring each project meets aesthetic and functional goals. We also provide professional PVC fence repair in Staten Island to keep fences in top condition, so you do not have to worry about wear and tear.
Table of Contents
- Why PVC Fences Are a Smart Choice
- Planning Your PVC Fence Installation
- How to Install a PVC Fence: Step-by-Step
- Tips for a Smooth Installation
- Maintaining Your PVC Fence
- DIY vs. Professional Installation
- Final Thoughts
- Frequently Asked Questions
Why PVC Fences Are a Smart Choice
PVC fencing has become popular because it withstands the elements better than traditional materials. It resists rot, insect damage, and fading, making it a practical choice for busy homeowners who want beauty without constant maintenance.
From classic picket styles to privacy panels, PVC fencing is versatile. For residents in Staten Island, choosing a material that handles coastal weather is essential. Even minor damages can be addressed quickly through professional services, ensuring your fence continues to look its best for years.
Planning Your PVC Fence Installation
Before you grab the posts and panels, planning is key. Consider your yard layout, fence line length, gate placement, and property lines. Staten Island residents may also need permits, so verifying local requirements in advance will prevent delays.
Accurate measurements are critical. Take the time to decide on fence style, height, and layout. If you are considering a do-it-yourself PVC fence project, careful preparation can prevent mistakes and save time. Even for professional installations, a clear plan ensures smooth progress and precise results.
How to Install a PVC Fence: Step-by-Step
Now you are going to get the answer to how to install a PVC fence and what the installation process generally looks like:
1. Mark Your Fence Line and Post Locations: Use stakes and string to outline your fence. Proper post spacing ensures stability and a professional finish.
2. Prepare the Ground: Remove rocks, debris, and plants. Level the area where posts will be set to ensure they sit securely and evenly.
3. Install Fence Posts: Dig holes deep enough for your posts. Using concrete to anchor them ensures long-term durability, keeping your fence straight and stable.
4. Attach Fence Panels: Once posts are set, follow your PVC fence installation instructions to attach panels. Check alignment frequently to maintain a straight, even fence line.
5. Finishing Touches: Install post caps, secure gates, and inspect for stability. A quick rinse removes installation dust and leaves the fence looking new.
Following these steps carefully ensures your fence is strong, aligned, and visually appealing.
Tips for a Smooth Installation
Whether tackling a DIY project or hiring professionals, these tips make the process easier:
- Plan gate placement and access points before starting.
- Frequently check post alignment to prevent uneven panels.
- Keep your worksite clean and organized to avoid mistakes.
- Don’t hesitate to reach out for guidance if attempting a do-it-yourself PVC fence.
Working with Cuttin Edge Fence can make even larger or more complicated installations stress-free. Our team manages measurements, material delivery, and precise adjustments to ensure a perfect fit.
Maintaining Your PVC Fence
One of the biggest advantages of PVC fencing is how easy it is to maintain. A simple wash with water keeps panels clean, while periodic inspections help catch minor issues early. For repairs, professional PVC fence repair services in Staten Island can replace panels or fix posts, maintaining both function and appearance.
DIY vs. Professional Installation
Some homeowners enjoy the satisfaction of a do-it-yourself PVC fence project. Smaller fences are often manageable, but larger or intricate designs require experience for proper alignment, secure posts, and smooth gate operation. Following detailed PVC fence installation instructions can help guide DIYers, but working with professionals ensures the fence will last longer and look flawless.
Final Thoughts
PVC fencing provides the perfect mix of style, durability, and minimal upkeep. With careful planning and proper installation, your new fence can enhance privacy, curb appeal, and property value.
Residents of Staten Island who choose Cuttin Edge Fence can trust that their PVC fence installation will be done correctly, and any necessary PVC fence repair in Staten Island, services will be handled efficiently. From start to finish, we ensure your fence is secure, visually appealing, and long lasting.
If you are ready to upgrade your outdoor space with a beautiful, low-maintenance PVC fence, contact Cuttin Edge Fence today for expert advice and professional installation services.